How To Propagate Yarrow From Cuttings
Posted on 08-05-2024 01:54 pm
To propagate yarrow from cuttings, start by selecting healthy stems with fresh growth and prepare them by removing lower leaves and trimming the stem to the desired length. Plant the cutting in a well-draining potting mix, firming the mix around the stem. Water gently and provide a warm, humid environment with indirect sunlight.
Maintain consistent moisture levels and fertilize sparingly. Once roots develop, transplant the yarrow into a larger pot or directly into the garden. With proper care, your yarrow cutting should thrive. For more thorough guidance on overcoming common issues and achieving ideal results, continue exploring the world of yarrow propagation.
Key Takeaways
- Choose healthy, vigorous stems with new growth for yarrow cuttings, avoiding weak or damaged stems.
- Prepare cuttings by removing lower leaves, trimming to desired length, and leaving at least two nodes.
- Plant cuttings in well-draining potting mix, placing the stem up to the node, and water gently but thoroughly.
- Provide a warm, humid environment with bright, indirect light, and maintain consistent moisture levels.
- Monitor moisture, fertilize sparingly, and prune with care to encourage bushy growth and maximize propagation success.
Overview of Propagating Yarrow from Cuttings
What makes propagating yarrow from cuttings an attractive option is that it allows you to reproduce this versatile herb quickly and efficiently.
By taking cuttings from a mature yarrow plant (Achillea millefolium), you can propagate new plants that will thrive and produce an abundance of flowers and foliage. This method of plant propagation is ideal for gardeners who want to multiply their yarrow stock without having to purchase new plants or wait for seeds to germinate.
To propagate yarrow from cuttings, you'll need to take 3- to 5-inch stem cuttings from the tip of a mature yarrow plant.
Remove lower leaves, leaving only a few at the top, and dip the cut end in a rooting hormone containing auxin to stimulate root growth.
Plant the cutting in a well-draining potting mix, water thoroughly, and provide indirect sunlight.
Keep the soil consistently moist but not waterlogged.
Essential Materials for Yarrow Propagation
Before you start propagating yarrow from cuttings, gather the following essential materials to facilitate a successful process. You'll need a few basic supplies to facilitate your yarrow cuttings developing healthy roots and growing into thriving plants.
You'll need a container with drainage holes to plant your yarrow cutting. You can use a small pot, a seed tray, or even a plastic cup with holes punched in the bottom. Make sure it's clean and has good drainage to prevent waterlogged soil, which can hinder root development.
Next, prepare a well-draining potting mix specifically designed for propagation. This type of mix will retain moisture but not become waterlogged, allowing your yarrow cutting to develop a strong root system. You can also mix your own propagation medium using a combination of peat moss, perlite, and vermiculite.
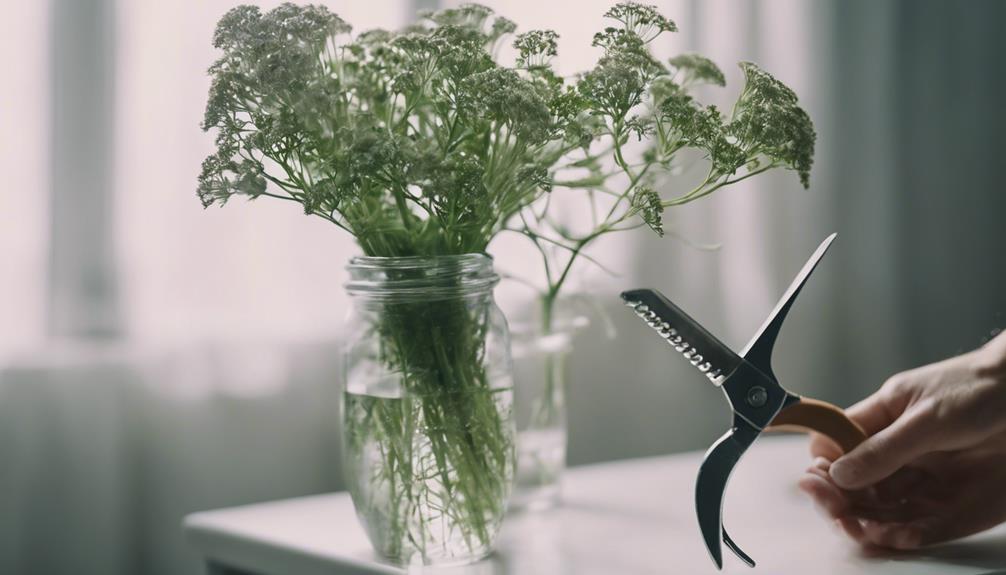
Additionally, you'll need a sharp, clean knife or pruning tool to take your yarrow cuttings. This will help prevent crushing or tearing the stem, promoting a clean cut that will foster healthy rooting.
How to Select and Prepare Yarrow Cuttings
You'll want to choose healthy, vigorous stems with plenty of new growth for your yarrow cuttings, as these will have the best chance of developing strong roots and growing into thriving plants.
Look for stems with fresh, green leaves and a sturdy base, as these are more likely to propagate successfully.
Avoid taking cuttings from weak or damaged stems, as these may not have the energy to root properly.
When selecting stems, consider the time of year and the growth stage of your yarrow plant.
In the spring, take cuttings from the new growth, which is typically more vigorous and has a higher chance of rooting.
In the summer, take cuttings from the tips of the stems, just above a leaf node.
This will encourage the cutting to focus its energy on developing roots rather than producing new growth.
To prepare your yarrow cuttings, gently remove any lower leaves that will be below the soil line, making a clean cut just above a leaf node.
This will help prevent the cutting from rotting and encourage root growth.
You can also trim the stem to the desired length, making sure to leave at least two nodes on the cutting.
Steps for Preparing Yarrow Cuttings
Now that you've selected your yarrow cuttings, carefully trim the stems to the desired length, making sure to leave at least two nodes on each cutting. This will facilitate that each cutting has enough growth points to propagate successfully.
Remove any lower leaves that will be submerged in water or soil, as these can rot and cause the cutting to decay. You can use clean scissors or pruning shears to make a clean cut, just above a node.
Next, prepare a rooting medium, such as water or a propagation tray with a well-draining mix. This is where the magic happens, and your yarrow cuttings will start to develop roots.
Make sure the rooting medium is clean and fresh to prevent contamination.
As you prepare your yarrow cuttings, keep in mind that the goal is to stimulate root growth. To do this, you can apply a rooting hormone to the cut end of the stem.
This will help promote healthy root development and increase the chances of successful propagation. With your cuttings prepared, you're one step closer to propagating new yarrow plants.
Planting Yarrow Cuttings: A Step-by-Step Guide
With your cuttings prepared, it's time to plant them in a well-draining mix, carefully placing the stem into the rooting medium up to the node from which you took your cutting. Make sure the node is fully submerged in the medium, as this is where the roots will develop.
Gently firm the mix around the stem to secure it in place. Water the mix gently but thoroughly to settle the soil and provide enough moisture to support root growth.
For each yarrow cutting, create a small hole in the mix that's deep enough to accommodate the stem up to the node. Place the cutting in the hole, making sure the node is at the correct depth. Fill in the hole with mix, gently firming it around the stem as you go.
Water each cutting thoroughly to settle the mix and provide enough moisture to support root growth.
As you plant each yarrow cutting, keep in mind that you're giving them the best chance to propagate and root successfully. With proper care, your cuttings will develop a strong root system, allowing them to thrive and eventually be transplanted into a larger pot or garden bed.
Creating the Optimal Environment for Yarrow Cuttings
To increase the chances of successful propagation, provide your yarrow cuttings with a warm, humid environment, typically between 65°F to 75°F (18°C to 24°C), and make certain they receive bright, indirect light. This will help stimulate root growth and promote healthy development.
To guarantee a smooth process, maintain a consistent temperature, as fluctuations can hinder the propagation process.
When preparing the soil, choose a well-draining potting mix specifically designed for cuttings. Moisten the soil with water, but avoid overwatering, which can lead to root rot.
You can also cover the pot with a clear plastic bag or cloche to maintain humidity and promote rooting.
As you propagate your yarrow cuttings, verify they're not exposed to direct sunlight, which can cause the soil to dry out quickly.
Instead, provide bright, indirect light, such as an east- or west-facing window. Keep the soil consistently moist, but not waterlogged, to encourage the cuttings to develop a robust root system.
Caring for Yarrow Cuttings: Tips and Techniques
You'll need to monitor the moisture levels and adjust your watering schedule accordingly, as yarrow cuttings require consistent moisture to develop a robust root system. Overwatering can be detrimental, so strike a balance. Check the soil daily, and water only when the top inch of soil feels dry to the touch.
To promote healthy growth, verify that your cuttings receive indirect sunlight, ideally 4-6 hours of direct sunlight or 12-14 hours of indirect sunlight. Maintain a consistent temperature between 65-75°F (18-24°C), which is ideal for root development.
Fertilize sparingly: Feed your cuttings with a balanced, water-soluble fertilizer at half the recommended strength.
Prune with care: Trim the foliage to encourage bushy growth and prevent the cutting from becoming leggy.
Monitor for pests: Keep an eye out for pests like spider mites, mealybugs, and aphids, which can weaken your cuttings.
Repot as needed: Transplant your cuttings into a larger pot once they've outgrown their container, providing fresh soil and a larger root system.
Transplanting Rooted Yarrow Cuttings Successfully
Once your yarrow cuttings have developed a robust root system and are showing signs of healthy growth, it's time to transplant them into a larger pot or directly into the garden. This is an exciting milestone in the propagation process, and with proper care, your yarrow plants will thrive.
Before transplanting, make sure the soil is well-draining and has a pH between 6.0 and 7.0, which is ideal for yarrow. If you're transplanting into a pot, choose one that's at least 6-8 inches deep to accommodate the root cuttings. Water the soil gently but thoroughly before transplanting to reduce shock.
When transplanting, gently remove the cutting from its container, taking care not to disturb the roots. If the roots are pot-bound, gently tease them apart with your fingers to encourage spreading. Plant the cutting at the same depth as it was previously, and water well to settle the soil.
After transplanting, keep the soil consistently moist but not waterlogged. Yarrow prefers full sun to partial shade, so choose a location that receives at least 4-6 hours of direct sunlight. With proper care, your yarrow plants will grow strong and healthy, and you'll be enjoying their beautiful white or yellow flowers in no time. Remember to water and fertilize regularly to promote healthy growth and maximize the success of your yarrow propagation.
Troubleshooting Common Issues in Yarrow Propagation
As you navigate the yarrow propagation process, you'll likely encounter some obstacles that can hinder the success of your efforts, and being prepared to address these issues is key to achieving ideal results.
One common issue you may face is root bound cuttings, which can occur when the root ball becomes too dense and prevents the cutting from growing further. To overcome this, gently tease out the roots with a fork to encourage new growth.
Another problem you may encounter is pests, such as aphids or spider mites, which can weaken the yarrow plant and hinder propagation. Keep an eye out for signs of infestation and treat promptly with insecticidal soap or neem oil.
Some additional issues to watch out for:
Overwatering: Yarrow cuttings are prone to root rot if the soil is too wet. Make certain to provide good drainage and avoid watering too frequently.
Insufficient light: Yarrow requires adequate light to thrive. Verify that your cuttings receive sufficient indirect light, especially during the rooting process.
Contaminated soil: Fungal diseases can spread quickly in contaminated soil. Use fresh, sterilized soil to minimize the risk of infection.
Inconsistent temperatures: Yarrow prefers consistent temperatures between 65-75°F (18-24°C). Avoid placing cuttings near heating vents or drafty windows.
Frequently Asked Questions
Can I Propagate Yarrow From Leaf Cuttings or Only Stem Cuttings?
You're wondering if you can propagate yarrow from leaf cuttings or only stem cuttings. The short answer is, you can try leaf cuttings, but stem cuttings are more reliable and likely to produce roots.
Will Yarrow Cuttings Root in Water or Only in Soil?
You might think water rooting is a gamble, but surprisingly, yarrow cuttings can thrive in water, and you'll see roots developing within 1-2 weeks; later, transfer them to soil for a stronger, established plant.
How Long Does It Take for Yarrow Cuttings to Develop Roots?
You'll typically wait 1-2 weeks for yarrow cuttings to develop roots in soil, but it can take up to 4 weeks in water. Be patient, and you'll start to notice new growth and roots forming.
Can I Propagate Yarrow From Cuttings Taken in the Fall Season?
As autumn's fiery blaze sets the trees ablaze, you wonder if fall's the right time to snip yarrow stems. Yes, you can propagate yarrow from fall cuttings, but expect slower root development and a lower success rate compared to spring and summer cuttings.
Are There Any Pest or Disease Issues Specific to Yarrow Cuttings?
You'll want to keep an eye out for fungal diseases like root rot and leaf spots, which can affect yarrow cuttings. Also, watch for pests like aphids, whiteflies, and spider mites that can weaken your cuttings.
Conclusion
With yarrow cuttings thriving in their new home, you've successfully bridged the gap between propagation and cultivation.
From selecting the right stems to transplanting rooted cuttings, you've navigated the journey with precision.
Now, imagine the delicate white blooms and fern-like foliage of your newly propagated yarrow plants, thriving in harmony with nature.
As you tend to your flourishing garden, remember that patience and attention to detail are the keys to realizing the full potential of your yarrow cuttings.
Search
Categories
Recent Posts
Follow US
https://sites.google.com/view/gardeningfire
https://www.youtube.com/@Gardening-Fire
https://twitter.com/gardeningfire
https://www.instagram.com/gardeningfire/
https://www.facebook.com/GardeningFire/
https://www.tumblr.com/gardeningfire
https://gardeningfire.blogspot.com/
https://gardeningfire.wordpress.com/
https://www.pinterest.com/gardeningfire/
https://soundcloud.com/gardeningfire/